

A Quick Guide on How to Build Your First Android App
May 23, 2016 written by Eric
Are you interested in the Android App Development process?
Well, fire up your computer and Android device, because today we will be walking you through creating your very first Android App.
1. Connect to Your Mobile Phone
To begin, your personal computer’s operating system (Windows 10, OS X, etc.) needs to be ready to communicate with your Android-based mobile phone. This means that you will have to get an appropriate device driver for your operating system to access your mobile phone.
You should be able to find any device driver installer by googling “download driver (MOBILE PHONE’S NAME)”. Please download a corresponding device driver and install it in your system!
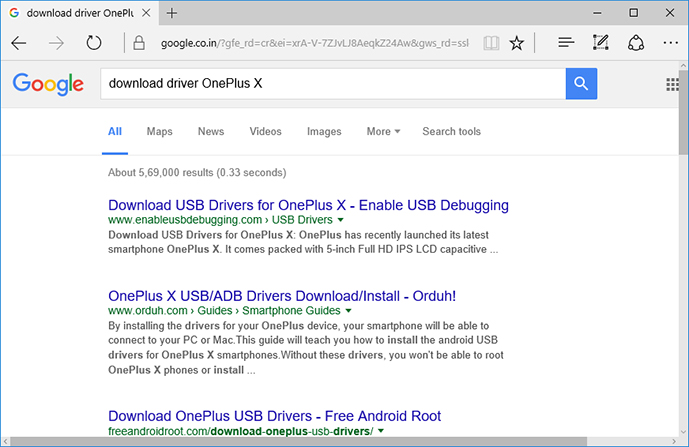
Find the corresponding device driver.

Usually, we just need to click “Install” and then “Finish” while installing.
2. Enable USB Debugging on your Mobile Phone
The next step is to get your Android phone ready to accept an installation request from your computer.
This is because Android normally locks out any installation request from a connected computer by default, to preserve security. We will have to unlock this functionality to request the installation of an app to the mobile phone for a test run.
Please go to Settings > About phone in your Android mobile phone. Then tap the option “Build number” seven (7) times so that you will find a hidden menu. Developer options appeared under the Settings. Please go into Developer options and enable USB debugging.
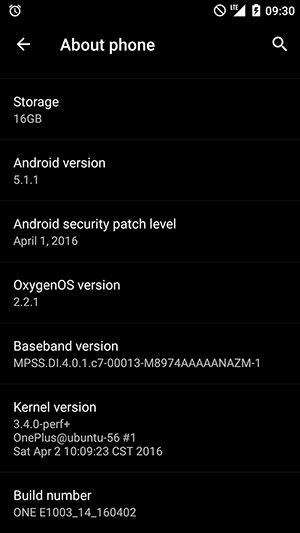
Go to Settings > About phone, and tap “Build number” 7 times.

Then you will find a new menu “Developer options”.
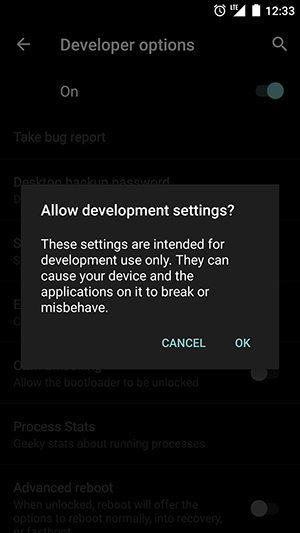
Click “OK” for “Allow development settings?”
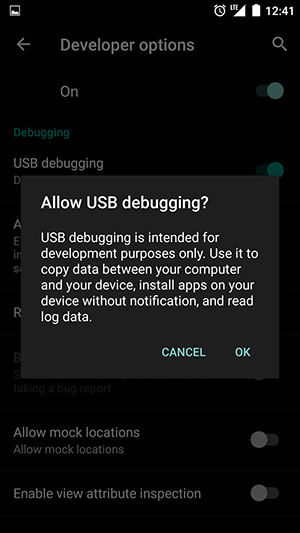
Click “OK” for “Allow USB debugging?”
3. Get Android Studio
The final step is to instal the official Google-recommended IDE “Android Studio” in your personal computer.
An IDE, or Integrated Development Environment, is nothing but a fully furnished code editor with a well-associated debugger, compiler, emulator, etc.
Please download the latest version of Android Studio from their official website <> and proceed to install in your system.
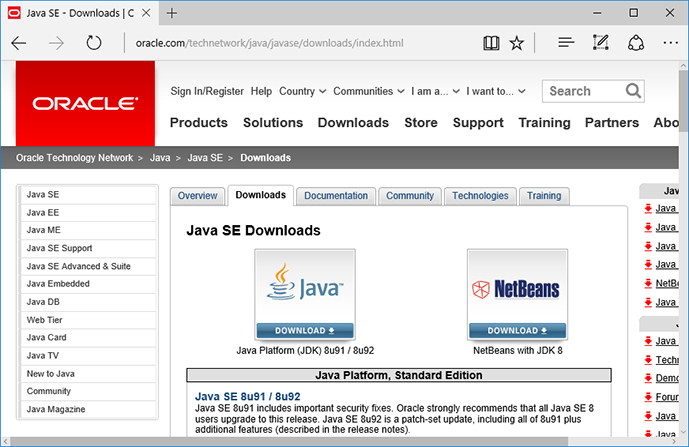
If you don’t have the JDK (Java SE Development Kit) in your system, first get JDK installed from the Oracle website.
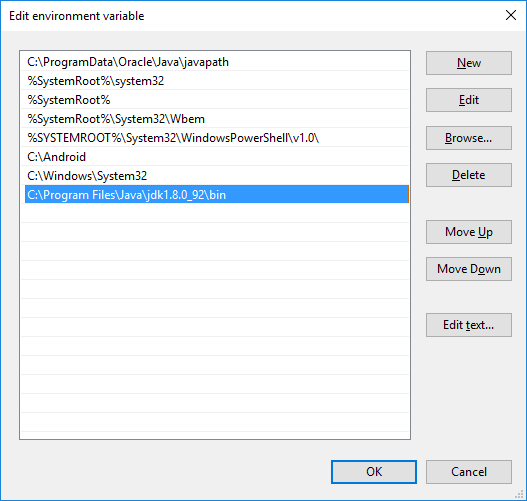
The environment variable needs to have the path to javac.
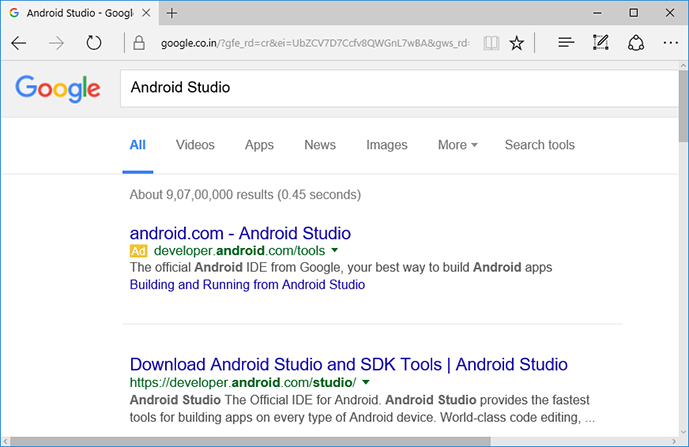
Download Android Studio from the official website.
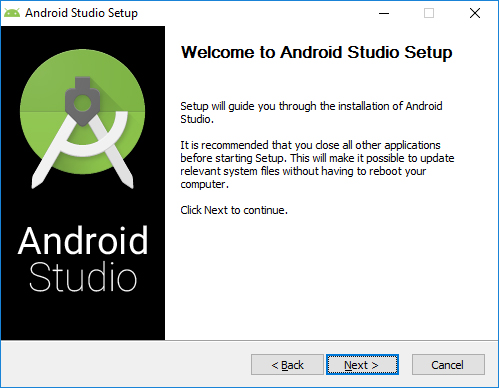
Keep the original configurations settings in the Setup dialog. Next, Next and Next.
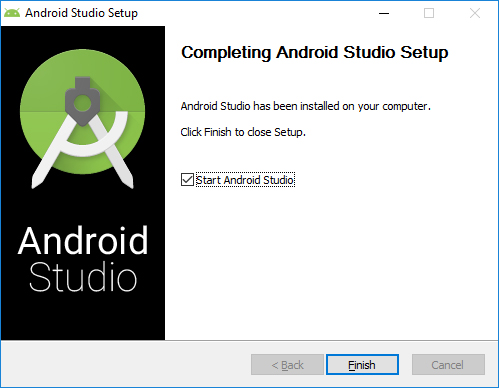
Installation is done!
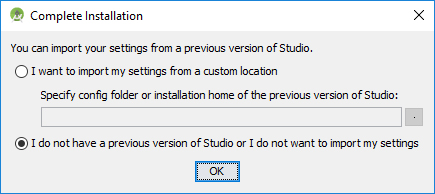
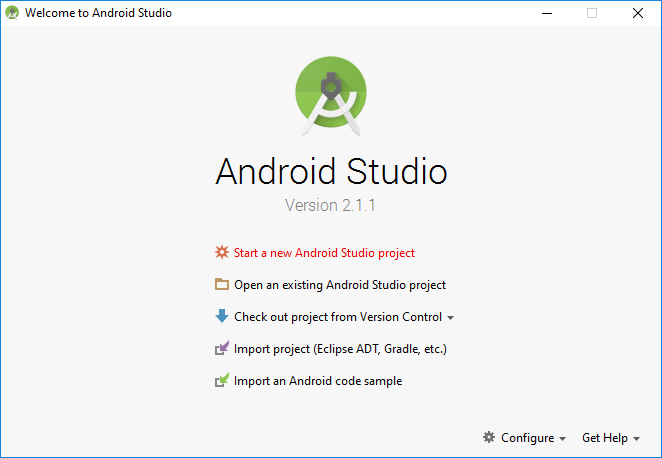
Once Android Studio starts, the Complete Installation dialog will pop up. Just click “OK”.
Next, Next and Finish.
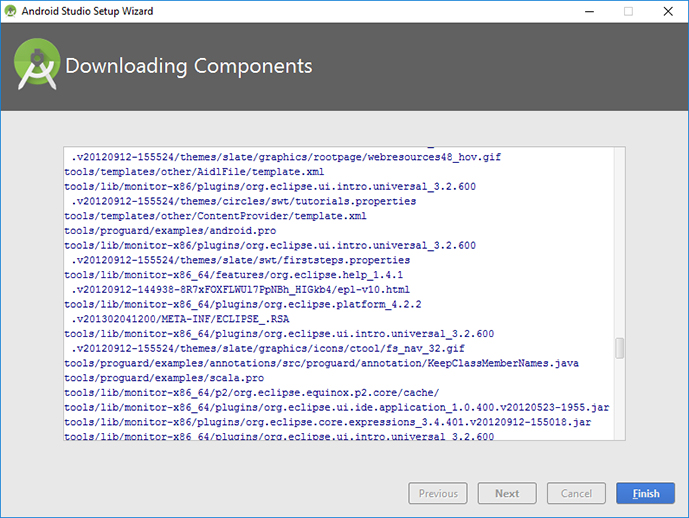
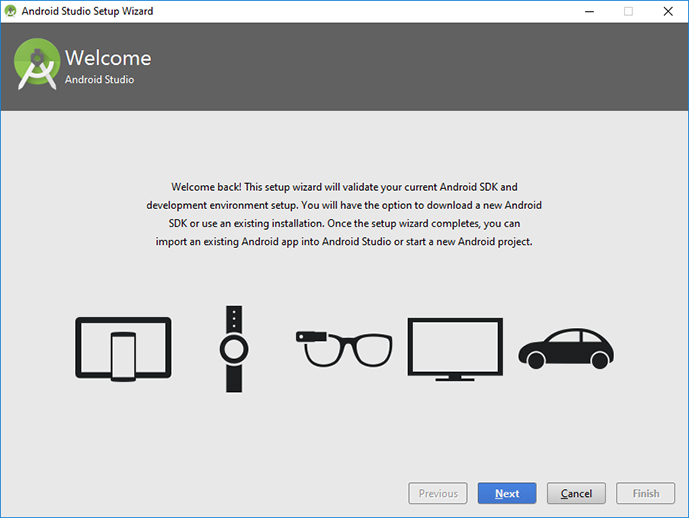
Please be patient till this screen appears. It might take 10-20 minutes.
Alright, your prep work is now done! Your personal computer has an app development environment, and your mobile phone can now be used to test any app you build!
5. Develop Your Own App
I hope you’ve made it this far!
Now, let’s try to make a basic Android app using Android Studio.
Please open Android Studio on your computer and choose “New Project” in the welcome dialog. You will be asked to decide the name of the project, working directory, target Android version, target device type, and screen template from where you would like to start developing.
Let’s start a new project!
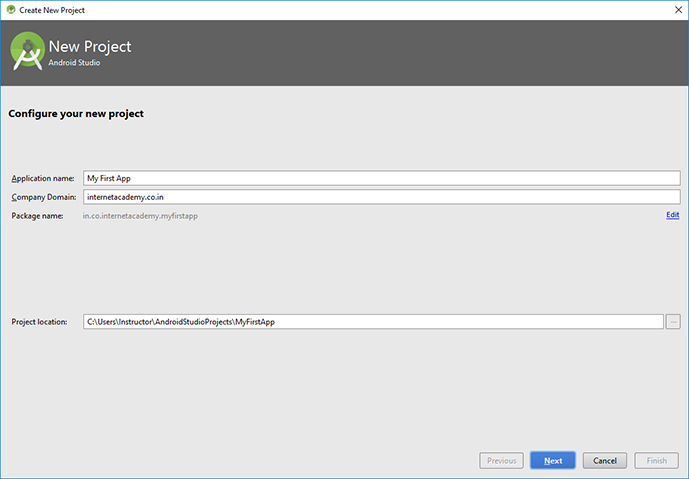
Decide an app name, domain name and save location.
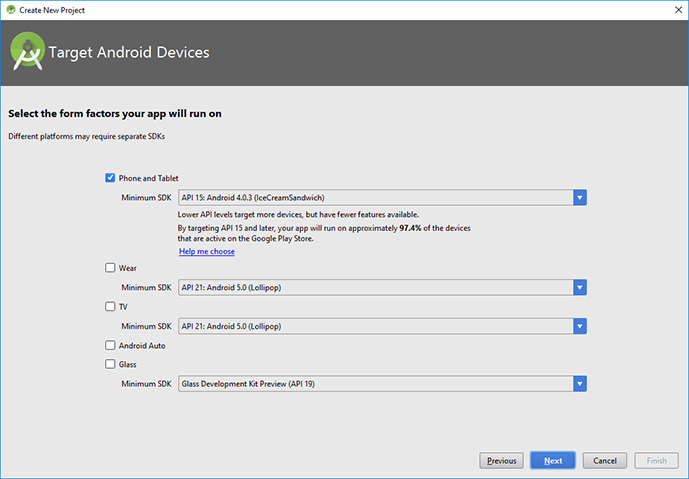
Just click “Next” in this dialog.
For now, please choose “Empty Activity” from the template list.
That’s it! Your very first app has already been prepared automatically!
(Let us skip the actual coding part today  )
)

Choose “Empty Activity” this time.

Hit “Finish”!

Yeah! This is Android Studio!
6. Lastly, Build Your App!
So now, all that remains is to just compe your app and deploy it on to your test device.
This phase is usually called “Building”. Android Studio uses a building tool “Gradle” by default.
Before building your app, please make sure to connect your mobile phone to your computer with an appropriate USB cable. Once ready, hit the “Run” button in the toolbar of your Android Studio!
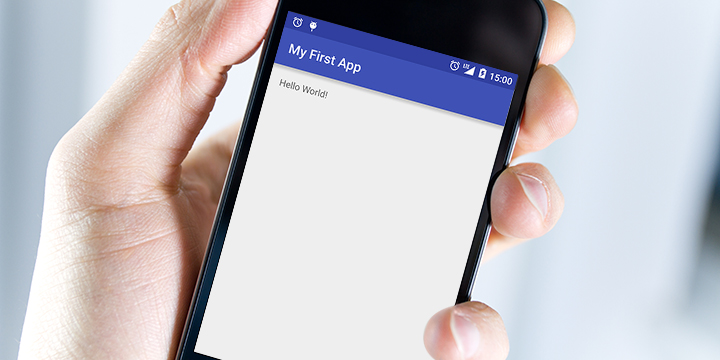
After a few minutes, if everything has been done right, you will see your very first app working on your mobile’s screen! 😀
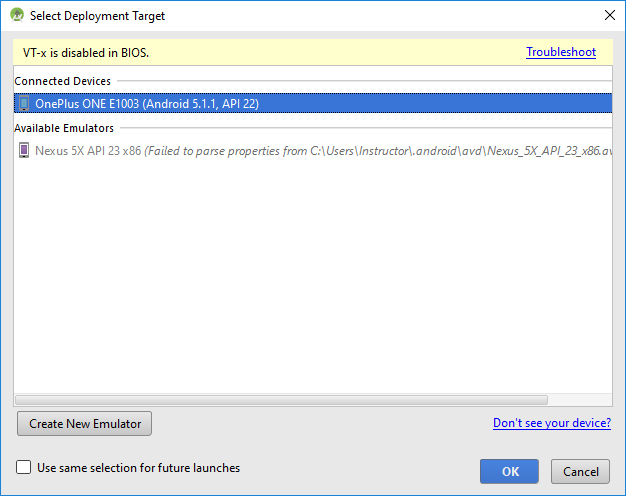
If your mobile device asks “Allow USB debugging?”, tap “OK”. Then click “OK” in this dialog.

Ta-dah! Hello, Android world!!
Well, that’s it for now! I have just walked you through the common processes for building and deploying your Android Applications.
We’ll take a more detailed look at the process in future posts!